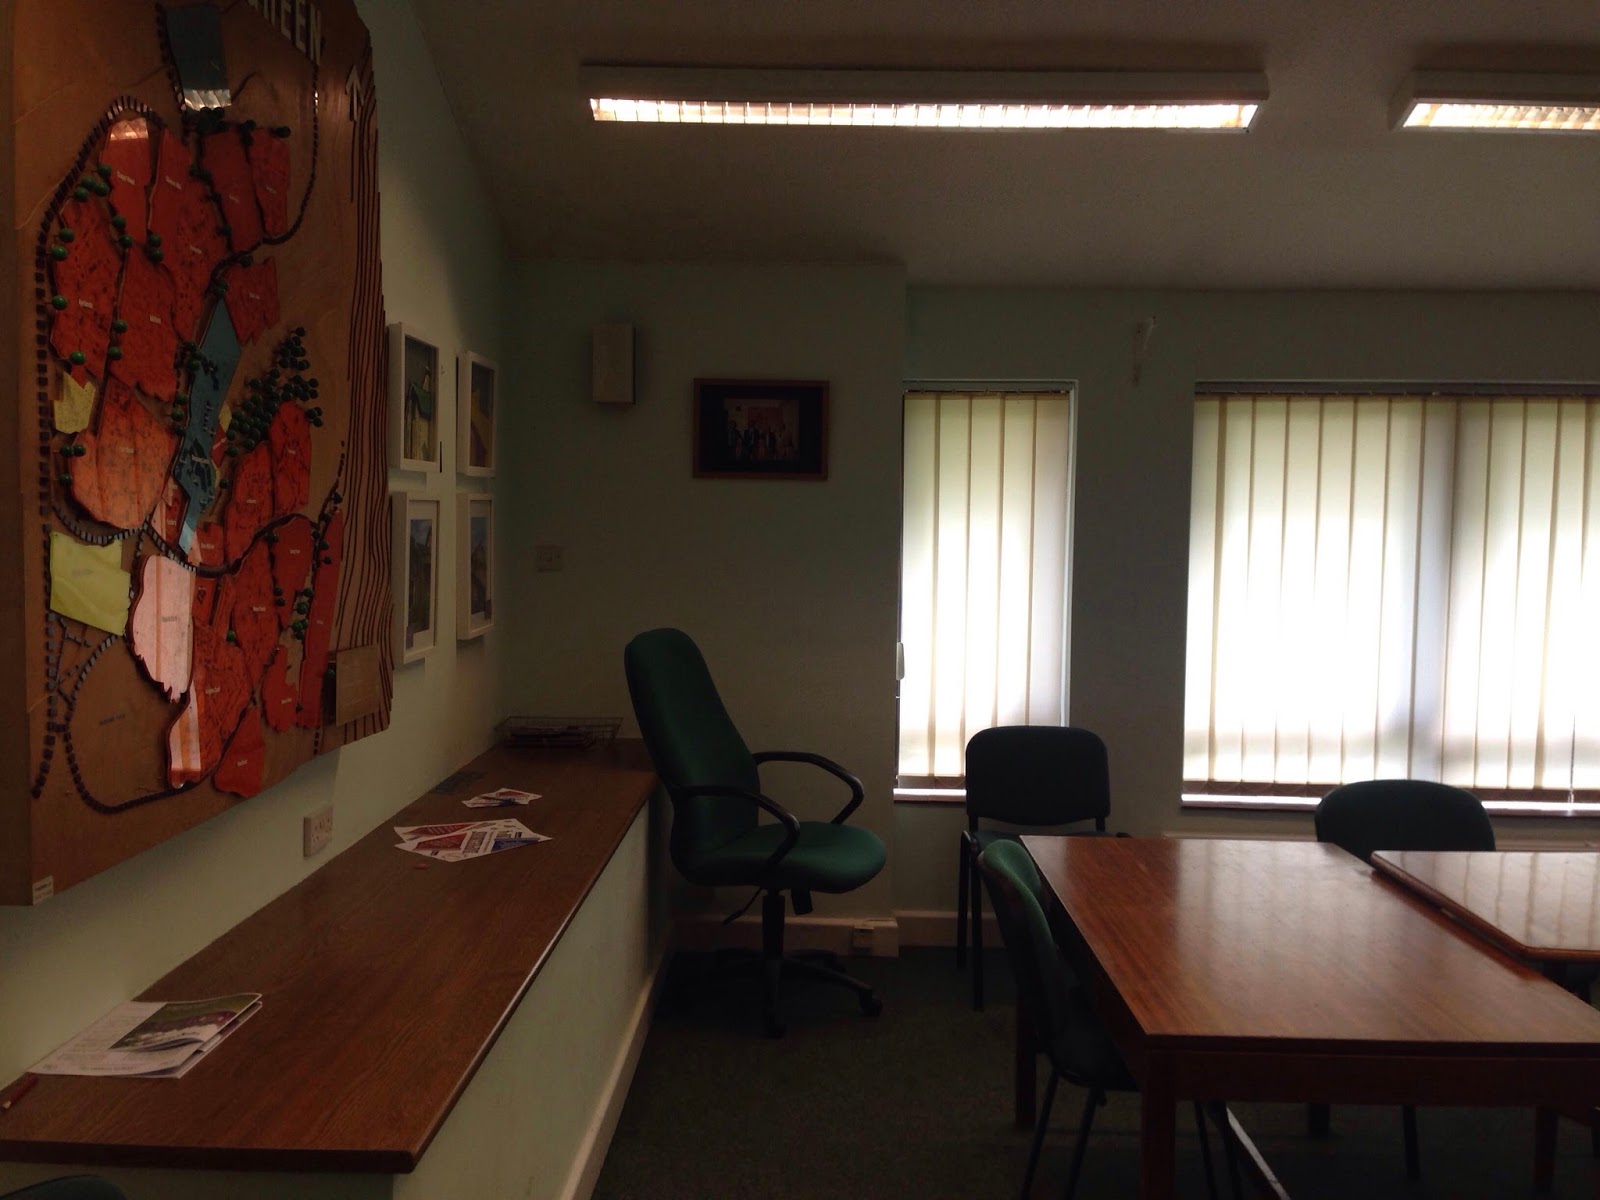
For the first day of the shoot we had booked the location for all the vet practice scenes – we had planned to get everything shot in one day, however, this was not possible in the end. Instead we decided to priorities the scenes which required the village association location as we only had this booked for the one day so we had to ensure all of these scenes got filmed.
As director, Alex planned the order of the day. As director of photography, I then used my shot list to work through the scenes with Alex directing. The order of the day changed slightly from the schedule as we realised the order of filming could be better in order to make the shoot more time efficient.
Before we began setting up the equipment, we needed to dress the set. This involved moving all the tables and chairs in the meeting room to the side and taking the existing posters off the noticeboards and walls in order to put up our own vet’s posters to make a convincing consultation room. We took a few of the chairs and moved them into the foyer to act as the waiting room chairs. We also took a few of our posters and stuck them to the pillars in the foyer to accurately resemble a vet’s waiting room.
Once the chairs and the tables were out of the way, we pushed a smaller table against the wall and put an office chair behind it. This would act as the vet’s consultation room. We then added posters to the walls and props to the table (paperwork, laptop and some small cow figurines – this was to add to the cow humour present in the script).
Once the set was dressed, I set up lighting and camera equipment. As we were beginning with the consultation room scene, I set up the lights and cameras to be suitable for this environment. So that we could get a natural yet clinical look, we drew the blinds slightly to allow a small amount of natural light in. I then set up the two soft box lights to make the scene brighter and more clinical looking – these lights would also provide a clean, even light across the vet’s and Sheila’s face.
I then set the cameras up to match. As the cameras are slightly different models, it was difficult to match them exactly using the same settings. Therefore, I created a standard set of settings and then fiddled with them slightly until the images on the cameras matched the best they could.
The cameras used were:
Canon 700d with 18-55mm lens
Canon 60d with 18-55 mm lens
The microphones we used were:
2 x Rode directional microphones
The lighting we used was:
2x Interfit Soft box lights
2x smaller LED lights (for the operating theatre scene)
My standard filming settings were:
ISO – 200
Shutter Speed – 1/30
Aperture – f/5.0
I used these settings for the consultation room scenes and the waiting room scenes.
Scene 5 (the consultation room scene between the vet, Sheila and Coco) was the first scene we filmed. This took longer than expected as there were multiple different camera angles I needed to capture for the narrative. My shot list did make this slightly easier, however, the angles were slightly more complex than anticipated.
The over the shoulder shot was the first shot I set up. I had to ensure that the laptop screen (filled with images of cows) was visible as well as the vet’s shoulder. The only problem with obtaining this angle was that I would have ideally liked to be closer to the subject, but this would mean that this camera would then be in shot of the camera capturing the wide shot. The wide shot was positioned in a similar place to the other shot, however, this shot was to capture the wider action such as the vet slamming the laptop closed as well as Sheila and Coco entering the room.
These cameras were used in these angles for a few takes to ensure the lines were delivered in the intended manner and that the action was captured. I then moved the cameras so that one camera was aimed at the vet as a medium close up and the other was aimed at Sheila as a medium close up. Whilst this camera was aimed at Sheila, we also obtained all the reaction shots she would make during the scene. The vet’s medium close up was then moved to be a wide shot of him looking over Coco. This combination of various camera angles meant that this scene took a fair amount of time to film, but I believe we got a good amount of coverage making it worth it.
Following this, we filmed scene 6 (the vet’s interview in the consultation room) as the room was already set up for this scene. This was a very simple scene to film. I set up the Canon 700d as a wide shot and the Canon 60d as a medium close up shot – I used my standard set of settings to ensure for clear quality, well-lit footage. I ensured to adjust the white balance to ensure an image that was true to colour, however, it is likely the colour of this scene will be manipulated in the edit to enhance the clinical qualities of the location. I will work with Melissa on the colour grading so that we get the desired look.
After the initial consultation room scenes were filmed, we filmed the waiting room scene. I didn't want to use artificial lighting for this scene as I wanted it to have a warm and natural look. We planned to film this in early afternoon, therefore the sun would be beginning to come in from the west and therefore come through the large windows. The sun came through the windows as planned and enabled us to capture a bright, warm scene. I was able to use the same standard set of settings as the natural light was just as bright as the artificial lighting in the consultation room. For this scene we just had to film Sheila and coco entering the waiting room, sitting down with Coco and waiting to be called in. We only had to do a few takes of this as this was a straight forward scene with no dialogue. I framed and focused the shot with Sheila and Coco in and then Alex directed them to walk out of the surgery and back into the shot and sit down. After a couple of takes of this, I filmed some medium close ups of both Sheila and Coco.
Along with this scene, we also filmed scene 1 - the exterior shot of Sheila and Coco walking into the surgery. This was another straight forward scene as it just required Sheila and Coco to walk into the building with no dialogue. I adjusted the settings from my standard ones to ISO200, aperture f/20 and a shutter speed of 1/60. Using an aperture of f/20 meant that more of the shot was in sharp detail and that the shot also didn't become over exposed. We shot this in the early afternoon so that the sun was no longer directly overhead and casting odd shadows, instead the lighting was just right.
Following this, we filmed scene 8 - the surgery scene. This involved rearranging the meeting room again. We used a plain corner of the room and set up a surgery table and surgical equipment. Aidan got changed into his scrubs in order to make him believable as a vet. I altered the lighting as per my shot list so that the scene was dramatically lit. This involved setting up the two smaller LED lights and putting one on a high setting from above and one on a lower setting from below. The one at a high setting from above meant there was a concentrated light source shining down on Aidan and creating the dramatic shadows we required. I tested this in the test shoot so was able to replicate the look we intended to capture. I did not need to alter my camera settings from my standard set as the change in lighting meant that the scene was already darker and had the desired look. I white balanced both the cameras which resulted in quite a warm tone - I will sit with Melissa in the editing process to colour grade this scene to have a cooler tone in order to reflect the clinical nature of this scene. Filming this scene was very tricky as there was a lot to capture and we were beginning to run out of time in the location. As some shots required Aidan to be covered in blood and some didn't, we had to ensure to shoot the footage where he was not covered in blood first. I used the shoulder mount and went handheld to film the cutaway shots of Aidan putting on the gloves, the mask and looking at the laptop screen. I had originally intended to film the blood splatters handheld, however, I was anxious that I would miss these shots so opted to go on the tripod instead. However, this actually ended up meaning that I did miss these shots as the movements panned out different from when we blocked them before shooting. I filmed one medium shot of the vet going in to inject Coco first and then filmed the close up blood splatters. I then went back to the medium shot to film the second time of the vet going in to inject Coco. This meant that Alex could get closer with the water gun (filled with non-toxic fake blood) to shoot Aidan with the blood - this meant there was less risk of getting the fake blood on the walls of the location (however, we were prepared for if this happened. We had wipes and covered the surrounding floor with newspaper). I feel this could have been filmed better but due to running out of time in the location, we didn't have a lot of options. To compensate for missing some of the blood splatters, I filmed some shots of blood on the surgical equipment etc. which can be used to bridge the gaps where I missed the vital shots.
After the surgery scene, we filmed scene 10 and 12 - the post-surgery interview scenes. This, like the 2 camera consultation room interview, was very straight forward to film. This just involved setting up the two cameras on a wide and a medium close up shot and allowing the vet to speak. I did not need to alter my setting from my standard set but I did need to reintroduce the two soft box lights to light the scene. As with the surgery scene, I white balanced the scene and ended up with a warm tone - this will be corrected in post production to give a cooler, clinical look.
Following this, we filmed scene 7 and scene 9 - the post surgery waiting room scenes. This involved filming Sheila in the waiting room without Coco. As we wanted this scene to look different in terms of lighting to the earlier waiting room scene, we opted to film these as the penultimate scenes of the day. This meant the sun was lower in the west and therefore the light coming through the windows was warmer and leaving longer shadows. As well as just filming Sheila waiting (which comprised of filming wide and medium close ups of Sheila sitting there, and close up shots of Sheila fiddling her hands nervously). I kept to my standard set of settings as the natural light coming through, combined with these settings, gave us the desired look. As well as filming Sheila waiting, we also filmed the vet coming out to tell Sheila the bad news. This involved setting up a wide shot to show the vet entering the room and approaching Sheila. I then got close up shots of Sheila's reaction and the blood covered leaflet.

The final scene we shot on day 1 of the shoot was the outside scene where Sheila walks past as the vet is dumping the body. I used the shoulder mount of these shots so that I could follow the movement within the scene (although there wasn't a great deal of movement to follow). I adjusted my settings to allow less light into the sensor as using my standard set of settings meant the shot looked over exposed. I changed the aperture to f/18 and this resolved the exposure of the scene. I started by filming the vet approaching the bin and seeing Sheila walk behind. After this I filmed a medium close up of Sheila's reaction. Then the final shot I filmed was the vet approaching the bin from the opposite side.
That was a wrap for the day. All we needed to film on day 2 was Sheila's interview and the idyllic shots of her and Coco playing.
Shoot day 2
Dressing the set for day 2 of the shoot was very simple as we just needed to make the set believable as Sheila's house. As the location was my house, we were able to move things around and manipulate the scene to have the desired look. We added the photo frame of Coco and a wedding picture to act as Sheila and Kevin.
We started by filmed scene 4 - Sheila's interview. This was very straight forward as it just involved setting up the two cameras on a wide and a medium close up and Sheila running through her dialogue. I opted to use natural light for this scene as we wanted to create a warm, welcoming atmosphere to reflect the home environment. I adjusted my settings slightly from my standard set as I used a shutter speed of 1/40 instead of 1/30. I then white balanced the scene which gave the warm feel we desired. As well as filming the interview, I filmed the cutaway shots of the photo frames and Coco.
After this, we filmed scene 3 - Sheila and Coco playing in the park. I had to adjust my settings from my standard set again - for this shoot I used an ISO of 200, shutter speed of 1/25 and an aperture of f/18. This gave the ideal look for this scene. The white balance gave the scene a warm look which aided the idyllic qualities of the shot. To film this scene, Alex directed Sheila and Coco to play fetch and to walk through different areas of the park. I filmed a variety of shots to give us plenty of coverage for this sequence.
Shoot day 2 went very smoothly with very little errors. I will sit with Melissa to colour grade the footage we shot so that I can ensure our film has the desired look.
What worked?
- Our set dressing, props and costume meant that the location and cast were believable as a vet’s practice and vet staff. The consultation room had noticeboards available so that we could pin up vet’s posters in order to make the location believable.
- The natural lighting in the waiting room and Sheila’s home allowed for the warm, natural, welcoming look we were aiming for. This reflects the type of shots seen in the documentary programmes we are mocking.
- There was much less grain on the footage from when we performed the test shoot. I was able to rectify this grain by using a lower ISO, a wider aperture and a slower shutter speed. This improved the visual quality of our piece.
- The DSLR worked very well for the outdoor scenes with Sheila and Coco playing fetch. We unfortunately did not have the shoulder mount we used in the test shoot available to us, instead, we use a monopod to allow for footage that would be more stable than purely going handheld.
- Whilst working with Coco was a challenge, it still worked. We had treats and water to keep her happy, as well as taking her out for regular breaks around the field that backed onto the location.
What didn’t?
- The poor acoustics of the meeting room meant that the sound echoed slightly and therefore wasn’t as clean and crisp as we wanted it to be. I will feed this back to Melissa so that she can attempt to resolve this issue in the edit.
- We should have booked the location for two days instead of just one. The consultation room scene took longer than expected to film meaning that the surgery scene, post-surgery interview scene and final waiting room scene were quite rushed and therefore not realised to their full potential.
- Due to lack of time, I didn’t fully block through the surgery scene with Alex, this meant some vital shots were missed / not captured to their best potential. I was afraid of missing the blood splatters if I went handheld, so I decided to shoot this on the tripod. However, this ended up being the wrong decision as using this method meant that I did actually miss the blood splatter. I should have shot this handheld so that I could follow the vet’s movements, in future I should have confidence in my abilities to ensure the best footage is captured. We should be able to work around this in the edit as I did manage to capture some blood splatters and other cutaways which could be used to cover the shots I missed.
- We also had to ensure to be extremely careful with the blood splatter as this location was very strict on not getting anything on the walls. Our previous location (before we found out we could not film with animals there) would have been better for this scene as we would have been able to set this scene further away from a wall and therefore would not have to be so exact with the blood splatters (we would still have needed to be careful to ensure we didn’t damage / stain their premises but the splatter wouldn’t have needed to be as exact as it needed to be in our new location.) Due to this, we only did the blood splatters on the close-up shots so that Alex could get as close to Aidan with the water gun as possible. This meant less room for error with my camera work – and as it turned out I could have done with more room for error.
- Again, due to lack of time, we didn’t have the opportunity to dress the set for the post-surgery interview with the vet, meaning that we used the same corner of the room that we used for the surgery. Although this still worked, it didn’t give the look we were initially intending to go for. We must manage our time better in future shoots.